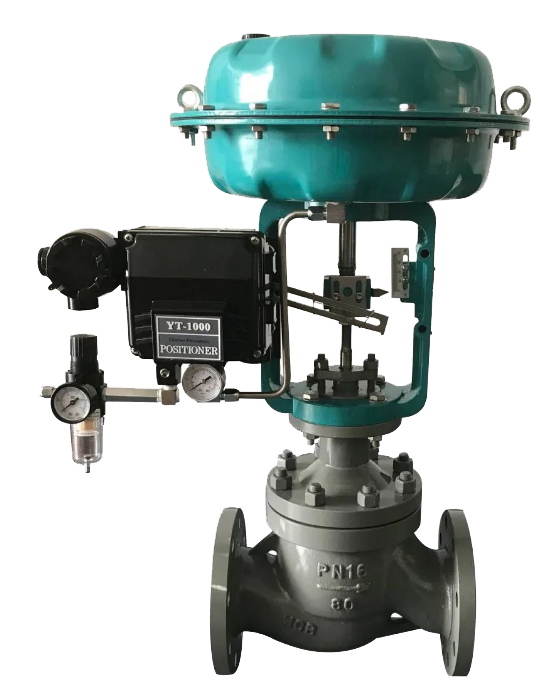
1. Adhere to Correct Installation Techniques
Always follow the installation instructions and precautions provided by the control valve (regulating valve) manufacturer.
2. Read the Operating Manual
Before installing the valve, read the instruction manual thoroughly. The manual introduces the product and outlines safety precautions and measures to be taken before and during installation. Following the guidelines in the manual ensures a smooth and successful installation process.
3. Confirm Cleanliness of Pipelines
Foreign objects in the pipeline can damage the valve's sealing surfaces or even hinder the movement of valve trim, balls, or butterfly discs, preventing the valve from closing properly. To reduce the likelihood of hazardous situations, clean all pipelines before installing the valve. Verify that all dirt, metal shavings, welding slag, and other foreign matter have been removed. Additionally, inspect pipe flanges to ensure a smooth gasket surface. If the valve has threaded connection ends, apply a high-grade pipe sealant to the male threads of the pipe. Avoid applying sealant to the female threads, as excess sealant can be squeezed into the valve body, causing trim jamming or dirt accumulation, which in turn leads to improper valve closure.
4. Inspect the Control Valve (Regulating Valve)
(1) Although valve manufacturers take steps to prevent transportation damage, such damage can still occur and should be detected and reported before installation.
(2) Do not install valves known to be damaged during transportation or storage.
(3) Before installation, inspect and remove all shipping blocks, protective plugs, or covers from the gasket surface. Examine the valve body interior to ensure no foreign objects are present.
5. Adopt Good Piping Practices
Most control valves (regulating valves) can be installed in any position. However, the most common practice is to mount the actuator vertically and above the valve. If horizontal mounting of the actuator is necessary, consider adding an additional vertical support. Ensure the valve body is installed with the flow direction aligned with the flow arrow or as indicated in the instruction manual.
6. Ensure Sufficient Space Above and Below the Valve
Maintain adequate space above and below the valve to facilitate easy removal of the actuator or valve trim during inspection and maintenance. Space requirements can typically be found on the valve manufacturer's dimensional drawings. For flange-connected valve bodies, ensure accurate flange alignment for uniform gasket surface contact. After aligning the flanges, tighten the bolts gently and finally in an alternating pattern.
Proper tightening avoids uneven gasket loading, helps prevent leaks, and reduces the risk of flange damage or even cracking. This precaution is particularly important when connecting flanges made of different materials than the valve flanges.
Pressure piping installed upstream and downstream of the control valve aids in flow or pressure drop monitoring. Connect the pressure piping to straight pipe sections away from elbows, reductions, or enlargements to minimize inaccuracies caused by fluid turbulence. Use 1/4 or 3/8 inch (6-10mm) tubing to connect the pressure ports on the actuator to the controller. Keep connection distances short and minimize the number of fittings and elbows to reduce system time lag. If longer distances are necessary, use a positioner or booster on the control valve (regulating valve).